
What Is a Mini Premna Bonsai? A Step-by-Step Guide to Making One on Rock
This guide is created by Green Chapter — Nature Workshop Studio, where we focus on creating living ecosystems through hands-on experience. We share practical insights across terrariums, aquascaping, plants, and natural systems to help you build and care for your own.
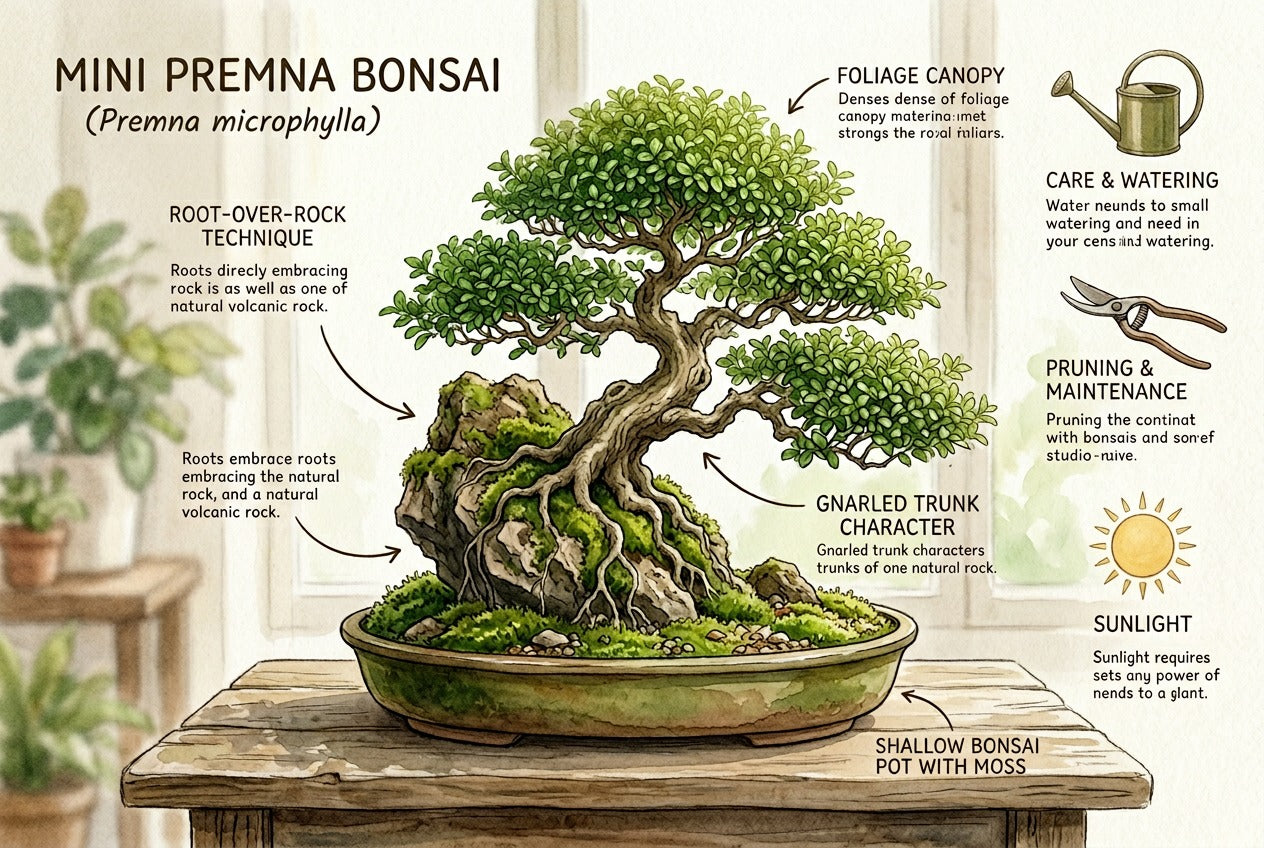
Mini Premna Bonsai: Build a Living Landscape in a Small Pot
A mini premna bonsai is a compact bonsai tree created from Premna microphylla, known for its small leaves, flexible branches, and fast response to pruning.
One of the most beautiful styles is the bonsai-on-rock, where the roots are shaped over a stone and secured into a shallow pot. This creates a miniature landscape that feels natural, aged, and grounded.
What Is a Mini Premna Bonsai?
A mini premna bonsai is a small-scale tree grown and shaped to mimic nature in miniature form. Through pruning and root control, the plant stays compact while developing structure and character.
Premna is ideal for beginners because it:
- grows quickly and responds well to trimming
- develops dense foliage
- adapts easily to shaping
When paired with a rock, it becomes a living landscape composition, where roots appear to grip and grow over natural terrain.

What You Need
Before starting, prepare all materials to ensure a smooth process.
Materials:
- Premna plant (in nursery pot)
- Small rock
- Shallow bonsai pot
- Bonsai wire
- Mesh for drainage holes
- Akadama soil
- Sphagnum moss
- Live moss
- Scissors
- Chopstick
- Spray bottle
Having everything ready helps reduce stress on the plant during the process.

How to Make a Mini Premna Bonsai on Rock
Step 1 — Unpot the Plant
Gently remove the premna from its nursery pot. Support the base of the plant and ease out the root ball carefully.
This allows you to inspect and prepare the roots for shaping.

Step 2 — Trim and Clean the Roots
Trim away long, circling, or damaged roots. Keep fine feeder roots intact to support recovery.
The goal is to create a compact root system suitable for a shallow bonsai pot.

Step 3 — Prepare the Pot with Wire and Mesh
Place mesh over the drainage holes to prevent soil loss. Thread bonsai wire through the holes so they can later secure the rock.
This step ensures the entire setup will remain stable.

Step 4 — Tie the Roots to the Rock
Position the plant against the rock and arrange the roots along its surface. Secure gently using wire.
This creates the signature bonsai-on-rock look.

Step 5 — Tie the Rock to the Pot
Place the rock into the pot and use the pre-installed wires to anchor it firmly.
A stable base is essential for root recovery and long-term growth.

Step 6 — Add Akadama Soil
Fill the pot with akadama soil, working it into gaps using a chopstick.
This ensures good contact between roots and soil while preventing air pockets.

Step 7 — Add Sphagnum Moss
Place damp sphagnum moss around exposed roots and key areas.
This helps retain moisture and supports the plant during recovery..

Step 8 — Finish with Live Moss
Cover the soil surface with live moss for a natural finish.
This completes the miniature landscape and enhances visual appeal.

Mini Premna Bonsai in 8 Simple Steps
- Unpot the plant
- Trim roots
- Prepare pot with wire and mesh
- Tie roots to rock
- Secure rock to pot
- Add akadama soil
- Add sphagnum moss
- Finish with live moss

Why These Materials Matter
Each material plays an important role:
- Rock → Creates structure and natural landscape feel
- Akadama soil → Provides drainage and airflow
- Sphagnum moss → Retains moisture for roots
- Live moss → Enhances aesthetics and surface humidity
Together, they create a balanced environment for both growth and design.

Mini Premna Bonsai Care Guide
Light
Place in bright light or outdoor shade. Avoid dark indoor corners.
Watering
Water when the soil begins to dry slightly. Keep moisture consistent, not soggy.
Humidity
Moderate humidity helps maintain healthy moss and roots.
Pruning
Trim regularly to maintain shape and encourage dense growth.
Fertilising
Feed lightly once the plant is stable and actively growing.
Airflow
Ensure good ventilation to keep the plant healthy.

Common Mistakes to Avoid
- Cutting too many roots at once
- Loose planting that shifts after potting
- Overwatering without airflow
- Burying the trunk too deeply
- Keeping the plant in low light
Avoiding these helps your bonsai establish faster and grow stronger.

A Tiny Landscape with Big Character
Creating a mini premna bonsai is more than planting—it is shaping a living landscape.
From root work to moss finishing, each step builds character and balance. With proper care, your bonsai will continue to grow, refine, and tell its own story over time.

Want to Try This Hands-On?
Join our workshop and create your own mini premna bonsai with guided steps, materials provided, and expert support.
Bring home a living piece of nature—crafted by you.
Check out our Group/Corporate Basic Bonsai Workshop here >>


