
How to Make Aloe Vera Hand Soap
This guide is created by Green Chapter — Nature Workshop Studio, where we focus on creating living ecosystems through hands-on experience. We share practical insights across terrariums, aquascaping, plants, and natural systems to help you build and care for your own.
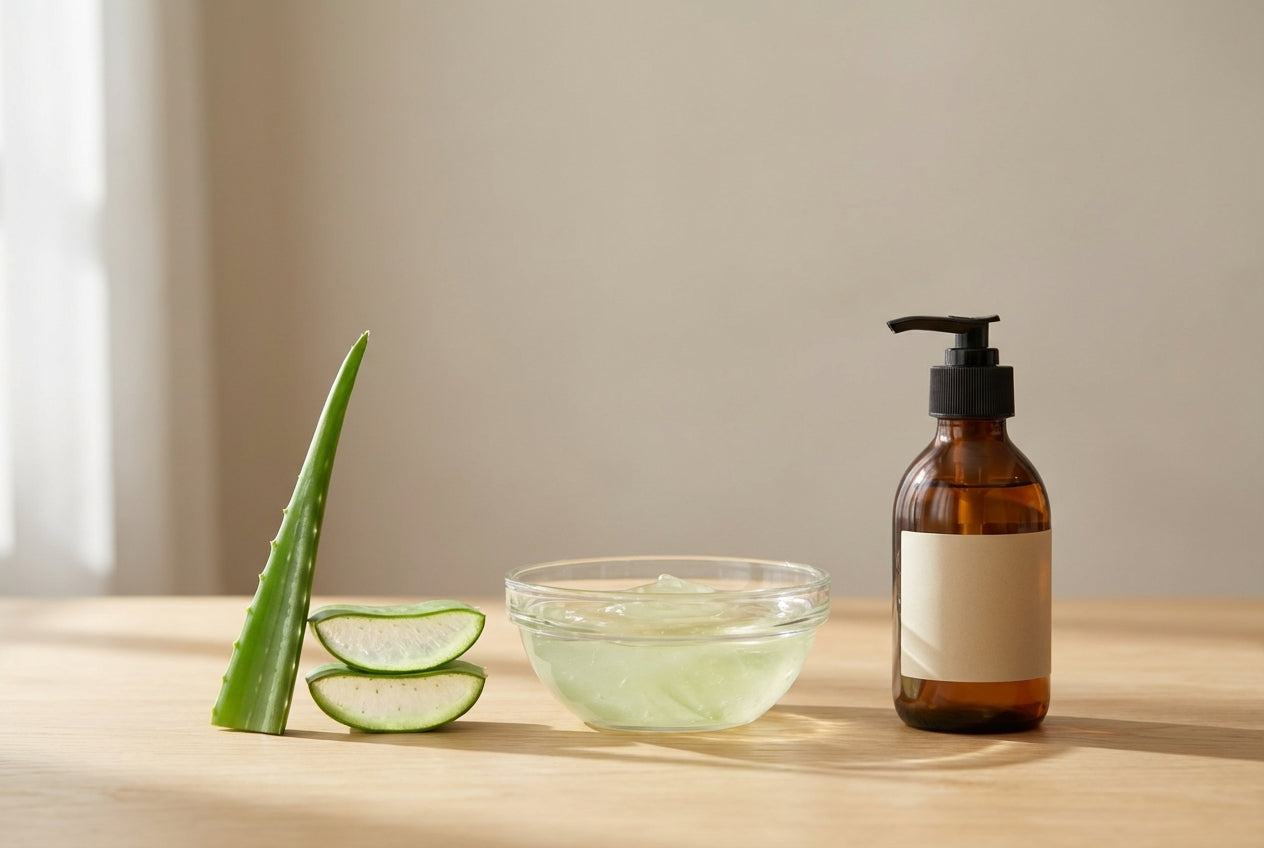
2 Proven Methods for Natural, Skin-Loving Cleansing
Introduction — Why Aloe Vera in Hand Soap?
Frequent hand washing can strip away natural oils, leaving skin dry, tight, and irritated. A well-formulated hand soap should cleanse effectively without compromising the skin barrier.
This is where Aloe vera becomes a powerful addition. Known for its hydrating polysaccharides and soothing properties, aloe helps retain moisture while improving the “slip” of the soap—giving that smooth, non-drying feel after every wash.
In this guide, we’ll walk through two reliable methods:
- A Melt & Pour Soap (perfect for beginners and workshops)
- A Liquid Castile Soap (ideal for daily use and premium formulations)
Along the way, you’ll also learn how to properly prepare fresh aloe, prevent spoilage, and balance texture with cleansing performance.
Preparing Fresh Aloe Vera (The Most Important Step)

Working with fresh aloe is rewarding—but only if done correctly. Improper preparation can lead to irritation, spoilage, or poor texture.
Start by selecting a mature aloe leaf and cutting it close to the base. Once harvested, stand the leaf upright for about 15 to 30 minutes to allow the yellow latex (aloin) to drain out. This step is crucial, as aloin can be irritating to the skin.
Next, trim away the spiny edges and carefully fillet the leaf to expose the clear inner gel. Rinse the gel thoroughly to remove any remaining yellow residue. From here, blend the gel into a smooth liquid and strain it to remove fibers.
The result should be a clean, translucent aloe extract that integrates easily into your soap base.
A small professional tip: adding a few drops of Vitamin C during blending can help slow oxidation and preserve freshness slightly longer.
Method 1 — Melt & Pour Aloe Soap (Beginner-Friendly)

If you’re new to soap making or planning a workshop, this is the easiest and most forgiving method.
Using a pre-made glycerin soap base removes the complexity of chemical reactions, allowing you to focus on formulation and customization.
Begin by gently melting your soap base using a double boiler. Avoid overheating—keeping it below 70°C preserves clarity and prevents degradation. Once melted, allow it to cool slightly before adding your prepared aloe gel. This prevents the heat from damaging the beneficial compounds in aloe.
Add a small amount of Vitamin E as an antioxidant, followed by your chosen essential oil blend. Stir gently to avoid air bubbles, then pour into molds and leave to set for about 24 hours.
The result is a translucent, lightly conditioned soap bar with a smooth glide.
Do note that aloe can slightly reduce foam. To balance this, you can add a small sugar solution or choose a high-lather soap base. Keeping aloe content below 5% ensures the bar remains firm and stable.
Method 2 — Liquid Castile Aloe Soap (Daily Use Formula)

For a more versatile and premium option, liquid soap made from Castile soap is an excellent choice.
Castile soap is naturally gentle and plant-based, making it ideal for frequent hand washing. When combined with aloe, it creates a hydrating yet effective cleanser.
To formulate, start by mixing Castile soap with a small amount of glycerin to enhance moisture retention. Slowly incorporate your aloe gel, stirring gently to avoid separation. Finish by adding Vitamin E and essential oils.
For the best user experience, dispense this soap using a foaming pump bottle. This improves lather perception while using less product per wash.
Aloe contributes a silky “slip” to the formula, but because it slightly reduces foam, adding a mild surfactant like coco-glucoside can help restore balance if needed.
Natural Fragrance Blends (Balanced & Skin-Safe)

Scent plays a major role in how a product feels—but in natural formulations, balance is key.
Essential oils should be used sparingly, ideally at 0.5–1% of the total formula. This translates to roughly 6–12 drops per 100ml.
A calming blend of lavender, lemon, and tea tree creates a clean, relaxing profile with mild antibacterial support. For a refreshing, spa-like feel, eucalyptus, peppermint, and rosemary offer a cooling and invigorating experience. If you prefer something softer, a floral blend of lavender, geranium, and sweet orange provides a gentle, crowd-pleasing scent.
Always ensure essential oils are properly diluted and suited for frequent skin contact.
Preservation & Shelf Life (What Most Guides Don’t Tell You)

Fresh aloe is biologically active—which also makes it highly perishable.
Without preservation, melt & pour soap can last about 2–3 weeks when refrigerated, while liquid soap may only remain stable for 7–10 days.
Adding Vitamin E helps slow oxidation, and Grapefruit Seed Extract offers mild antimicrobial support—but these are not sufficient for long-term storage.
If you’re making soap for sale or extended use, a proper broad-spectrum preservative system is essential. Alternatively, using stabilized aloe extract instead of fresh gel can significantly improve shelf life and consistency.
Balancing Texture, Lather & Cleansing

A well-formulated soap is all about balance.
Too much aloe can make the soap feel sticky or reduce its cleansing ability. Too little, and you lose its conditioning benefits.
If your soap feels slimy, reduce the aloe percentage and ensure it is well strained. If foam is lacking, introduce sugar or a mild surfactant. Separation issues can usually be solved by better mixing or blending.
The goal is a formula that feels smooth and hydrating—yet still cleans effectively without residue.
Section 7: Safety & pH Considerations

Skin-friendly formulations must consider pH and ingredient safety.
While healthy skin sits around pH 5.5–6.5, most soaps—especially Castile—are naturally alkaline (around pH 8–9). This is acceptable for rinse-off products but should still be balanced with moisturizing ingredients like aloe and glycerin.
Essential oils should always remain below 1% to prevent irritation, especially for products used multiple times a day.
Clean tools, proper storage, and pump bottles also go a long way in maintaining hygiene and stability.
Section 8: Why Fresh Aloe Doesn’t Work in Cold Process Soap
Fresh aloe may seem like a great addition to traditional soap making—but the chemistry says otherwise.
Cold process soap relies on Saponification, which involves highly alkaline conditions. This environment destroys most of aloe’s beneficial compounds.
Additionally, the natural sugars in aloe can cause overheating, leading to discoloration or unstable batches.
While advanced soap makers sometimes use frozen aloe as a water substitute, this method requires precise control and is not recommended for beginners.
Conclusion — Choosing the Right Method

Both methods offer unique advantages depending on your needs.
Melt & pour soap is quick, approachable, and perfect for hands-on workshops or casual DIY projects. Liquid Castile soap, on the other hand, offers a more refined and practical solution for everyday use.
Whichever method you choose, the key lies in proper aloe preparation, balanced formulation, and safe preservation.
At Green Chapter, we believe these small, mindful creations are more than just products—they’re a way to reconnect with nature through simple, meaningful experiences.


