
What Is a Kokedama? How to Make One?
This guide is created by Green Chapter — Nature Workshop Studio, where we focus on creating living ecosystems through hands-on experience. We share practical insights across terrariums, aquascaping, plants, and natural systems to help you build and care for your own.
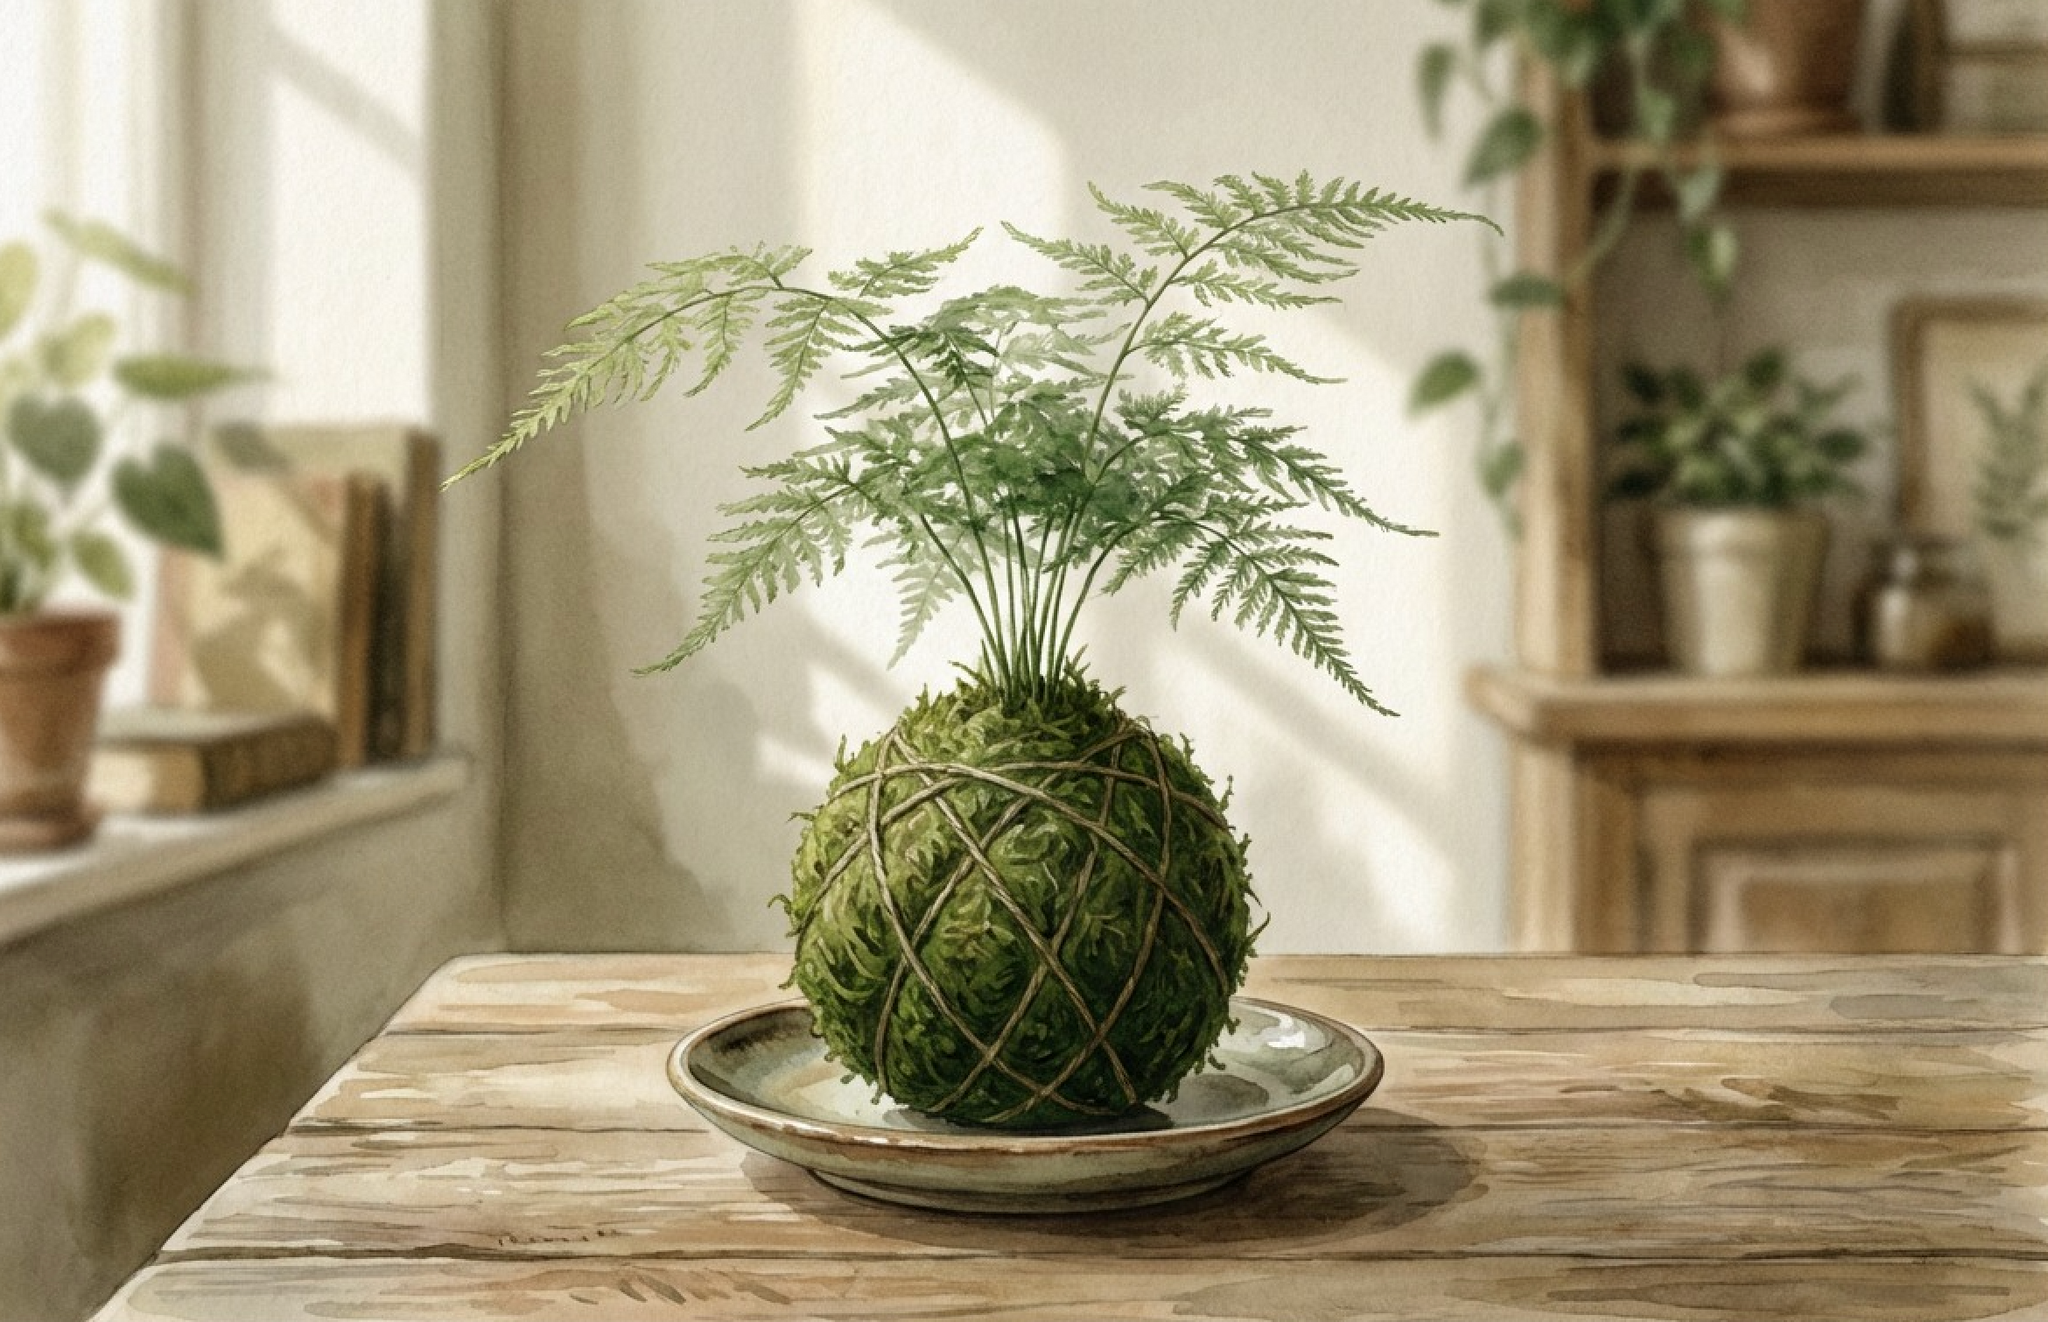
A kokedama is a Japanese-inspired planting style where a plant’s roots are wrapped in soil and covered in moss, forming a natural “moss ball” instead of using a pot.
It is simple, calming, and surprisingly satisfying to make. With just a few materials, you can turn a small plant into a beautiful living decor piece.
In this guide, you will learn what a kokedama is and how to make one step-by-step using an asparagus fern.
What Is a Kokedama?
Kokedama (苔玉) translates to “moss ball.” Instead of placing a plant in a container, the soil itself is shaped into a ball and wrapped with moss.
This creates a more natural and organic look, where the plant becomes part of a sculptural piece rather than just something sitting in a pot.
Kokedama is often displayed on a dish, wood surface, or even suspended in the air for a floating effect.

Why Use an Asparagus Fern?
The asparagus fern is a popular choice for kokedama because of its soft, feathery foliage and elegant shape.
It creates a gentle, cloud-like appearance that pairs beautifully with the moss ball.
It is also relatively easy to handle, making it suitable for beginners trying kokedama for the first time.
Materials You Will Need
To create your kokedama, prepare the following:
- 1 small asparagus fern
- Potting soil
- Peat moss or coco peat
- Water
- Green moss (sheet moss or live moss)
- Natural string or twine
- Scissors
- Mixing bowl

Step-by-Step: How to Make a Kokedama
Step 1 — Prepare the Plant
Gently remove the asparagus fern from its nursery pot.
Loosen and remove some excess soil from the roots so they can be shaped easily.

Step 2 — Mix the Soil
In a bowl, mix potting soil with peat moss and add a small amount of water.
Knead it until it becomes soft and moldable, like a dough that holds its shape.

Step 3 — Form the Soil Ball
Take the soil mixture and shape it into a ball.
Place the plant’s roots inside and gently wrap the soil around them to form a compact ball.

Step 4 — Wrap with Moss
Cover the soil ball with green moss.
Press the moss gently so it sticks and fully wraps the surface.

Step 5 — Secure with String
Wrap natural string around the moss ball in different directions to hold everything together.
Make sure it is firm but not too tight.

Step 6 — Shape and Display
Trim any loose ends and adjust the plant so it sits upright.
Place it on a dish or decorative surface.

Kokedama Process at a Glance
Here is a simple overview of the entire process:
Plant → Soil Ball → Moss Wrap → Tie → Display
This helps you visualise the flow before starting.

How to Care for Your Kokedama
Once completed, your kokedama will need simple care to stay healthy:
- Place in bright, indirect light
- Avoid strong direct sun
- Water when the moss ball feels lighter or slightly dry
- Allow excess water to drain before placing back
- Trim old or yellowing leaves

Common Mistakes to Avoid
When making your first kokedama, watch out for these:
- Soil too wet → ball becomes messy and unstable
- Soil too dry → ball cracks easily
- Loose moss wrapping → moss falls off
- Too much sunlight → plant dries out
- Poor drainage → roots stay overly wet

Why Kokedama Is So Enjoyable
Kokedama is more than just planting — it is a hands-on creative experience.
It slows you down, engages your senses, and allows you to shape something living with your hands. The final result feels both natural and artistic.
Conclusion
Making a kokedama with an asparagus fern is a simple and rewarding project that combines creativity with nature.
With just a few materials and steps, you can create a living piece that adds calm and greenery to your space.
Whether for your home, as a gift, or as part of a workshop experience, kokedama offers a unique way to reconnect with plants.

Check out our Group Kokedama Workshop >>


